David had taken some samples at a recent pour and wanted to get them tested. Fortunately, Cristian Gaedicke, Concrete Materials Professor at CSU East Bay, had a new lab and new equipment to try out. We headed over for a tour and a testing field trip. Below are some photos of our compression test. We also did a void and density test but I hadn’t started taking photos at that point.
Below you will see Cristian sawing off the top of the samples, to make them flat for capping.
Next, we capped the two samples in sulfur, which makes them totally -perfectly- flat. That is also the way we have tested all of the rest of our samples, so we can keep our data consistent. The sulfur is heated in an industrial-type crock pot, under a hood for total ventilation. The green corner piece is the mold that sets the final edge so it is exactly at 90 degrees.
David stirs the melting sulfur chips. Since the lab was pretty new, the sulfur pot hadn’t been used yet!
Once the two samples were capped, they were put into the crush test.
This measures the PSI load of the sample. Below you can see the sample in the crushing machine.
I am taking copious notes, while Cristian is making sure the machine works.
David is also taking notes as the test is being set up.
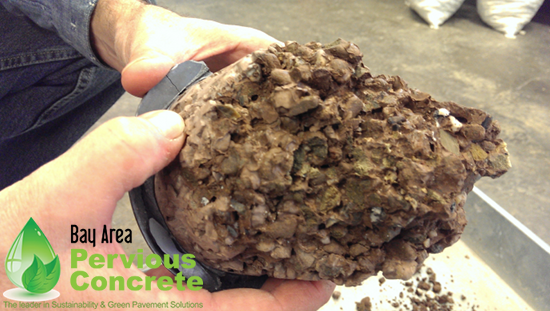
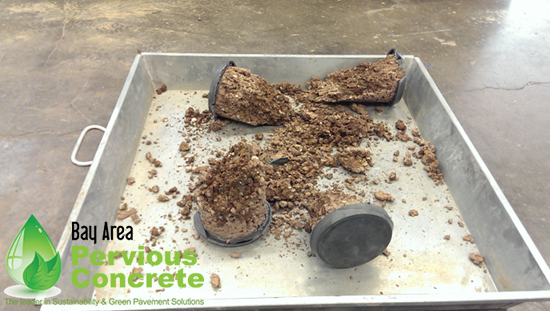
David and Cristian compare notes, and discuss the results. They review the smashed cylinders, seeing the pattern and reviewing paste adhesion in this mix.
You can see that both cylinders had very consistent crush pattern.
David is very happy with the results!
The whole crew, minus the photographer!


