And nothing speaks louder than Bay Area Pervious Concrete’s first multi-layer decorative installation with radiant heating at a massive residential project in Lake Tahoe. The project began this summer after two years of cross-collaboration between the architect, engineer, general contractor, and Bay Area Pervious Concrete.
Because radiant heat had never been attempted with pervious concrete, along with the complex multi-layer system, a series of full-scale mock-ups were constructed last summer to be tested over the winter. As the cold weather rolled into the northern California Sierra Mountains, the boiler was fired up and hot water pumped through the pavement throughout the winter. The system worked as planned and completely eliminated any snow accumulation on the slab.
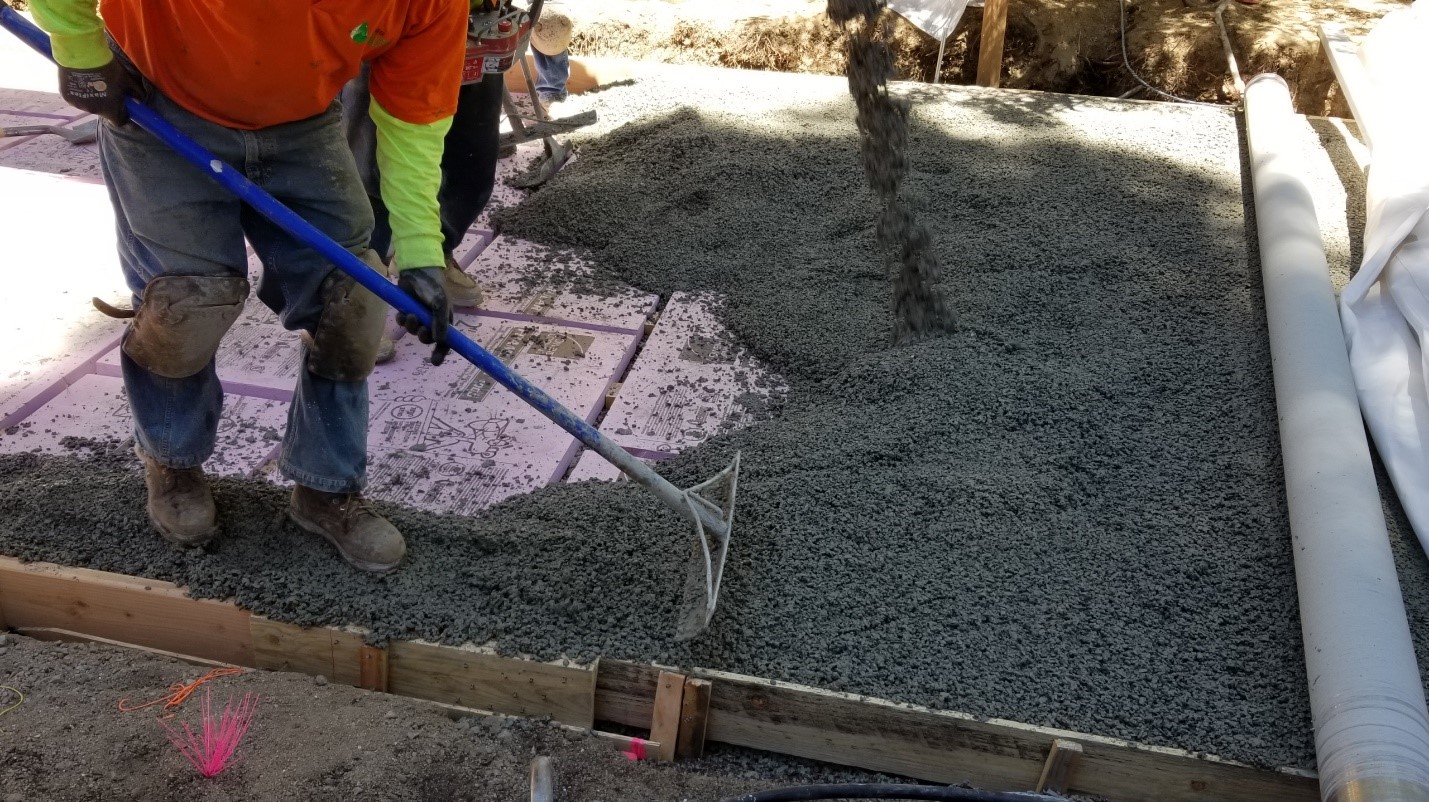
The system begins at the bottom with 6” of ¾” crushed drain rock. On top of the base is 2” of rigid foam insulation board with 2” spacing between boards for drainage. Next is a 5” layer of our standard gray 3/8” aggregate pervious concrete.
The radiant heat tubes were then installed on top of this layer between stone bands spaced at ten feet on center.
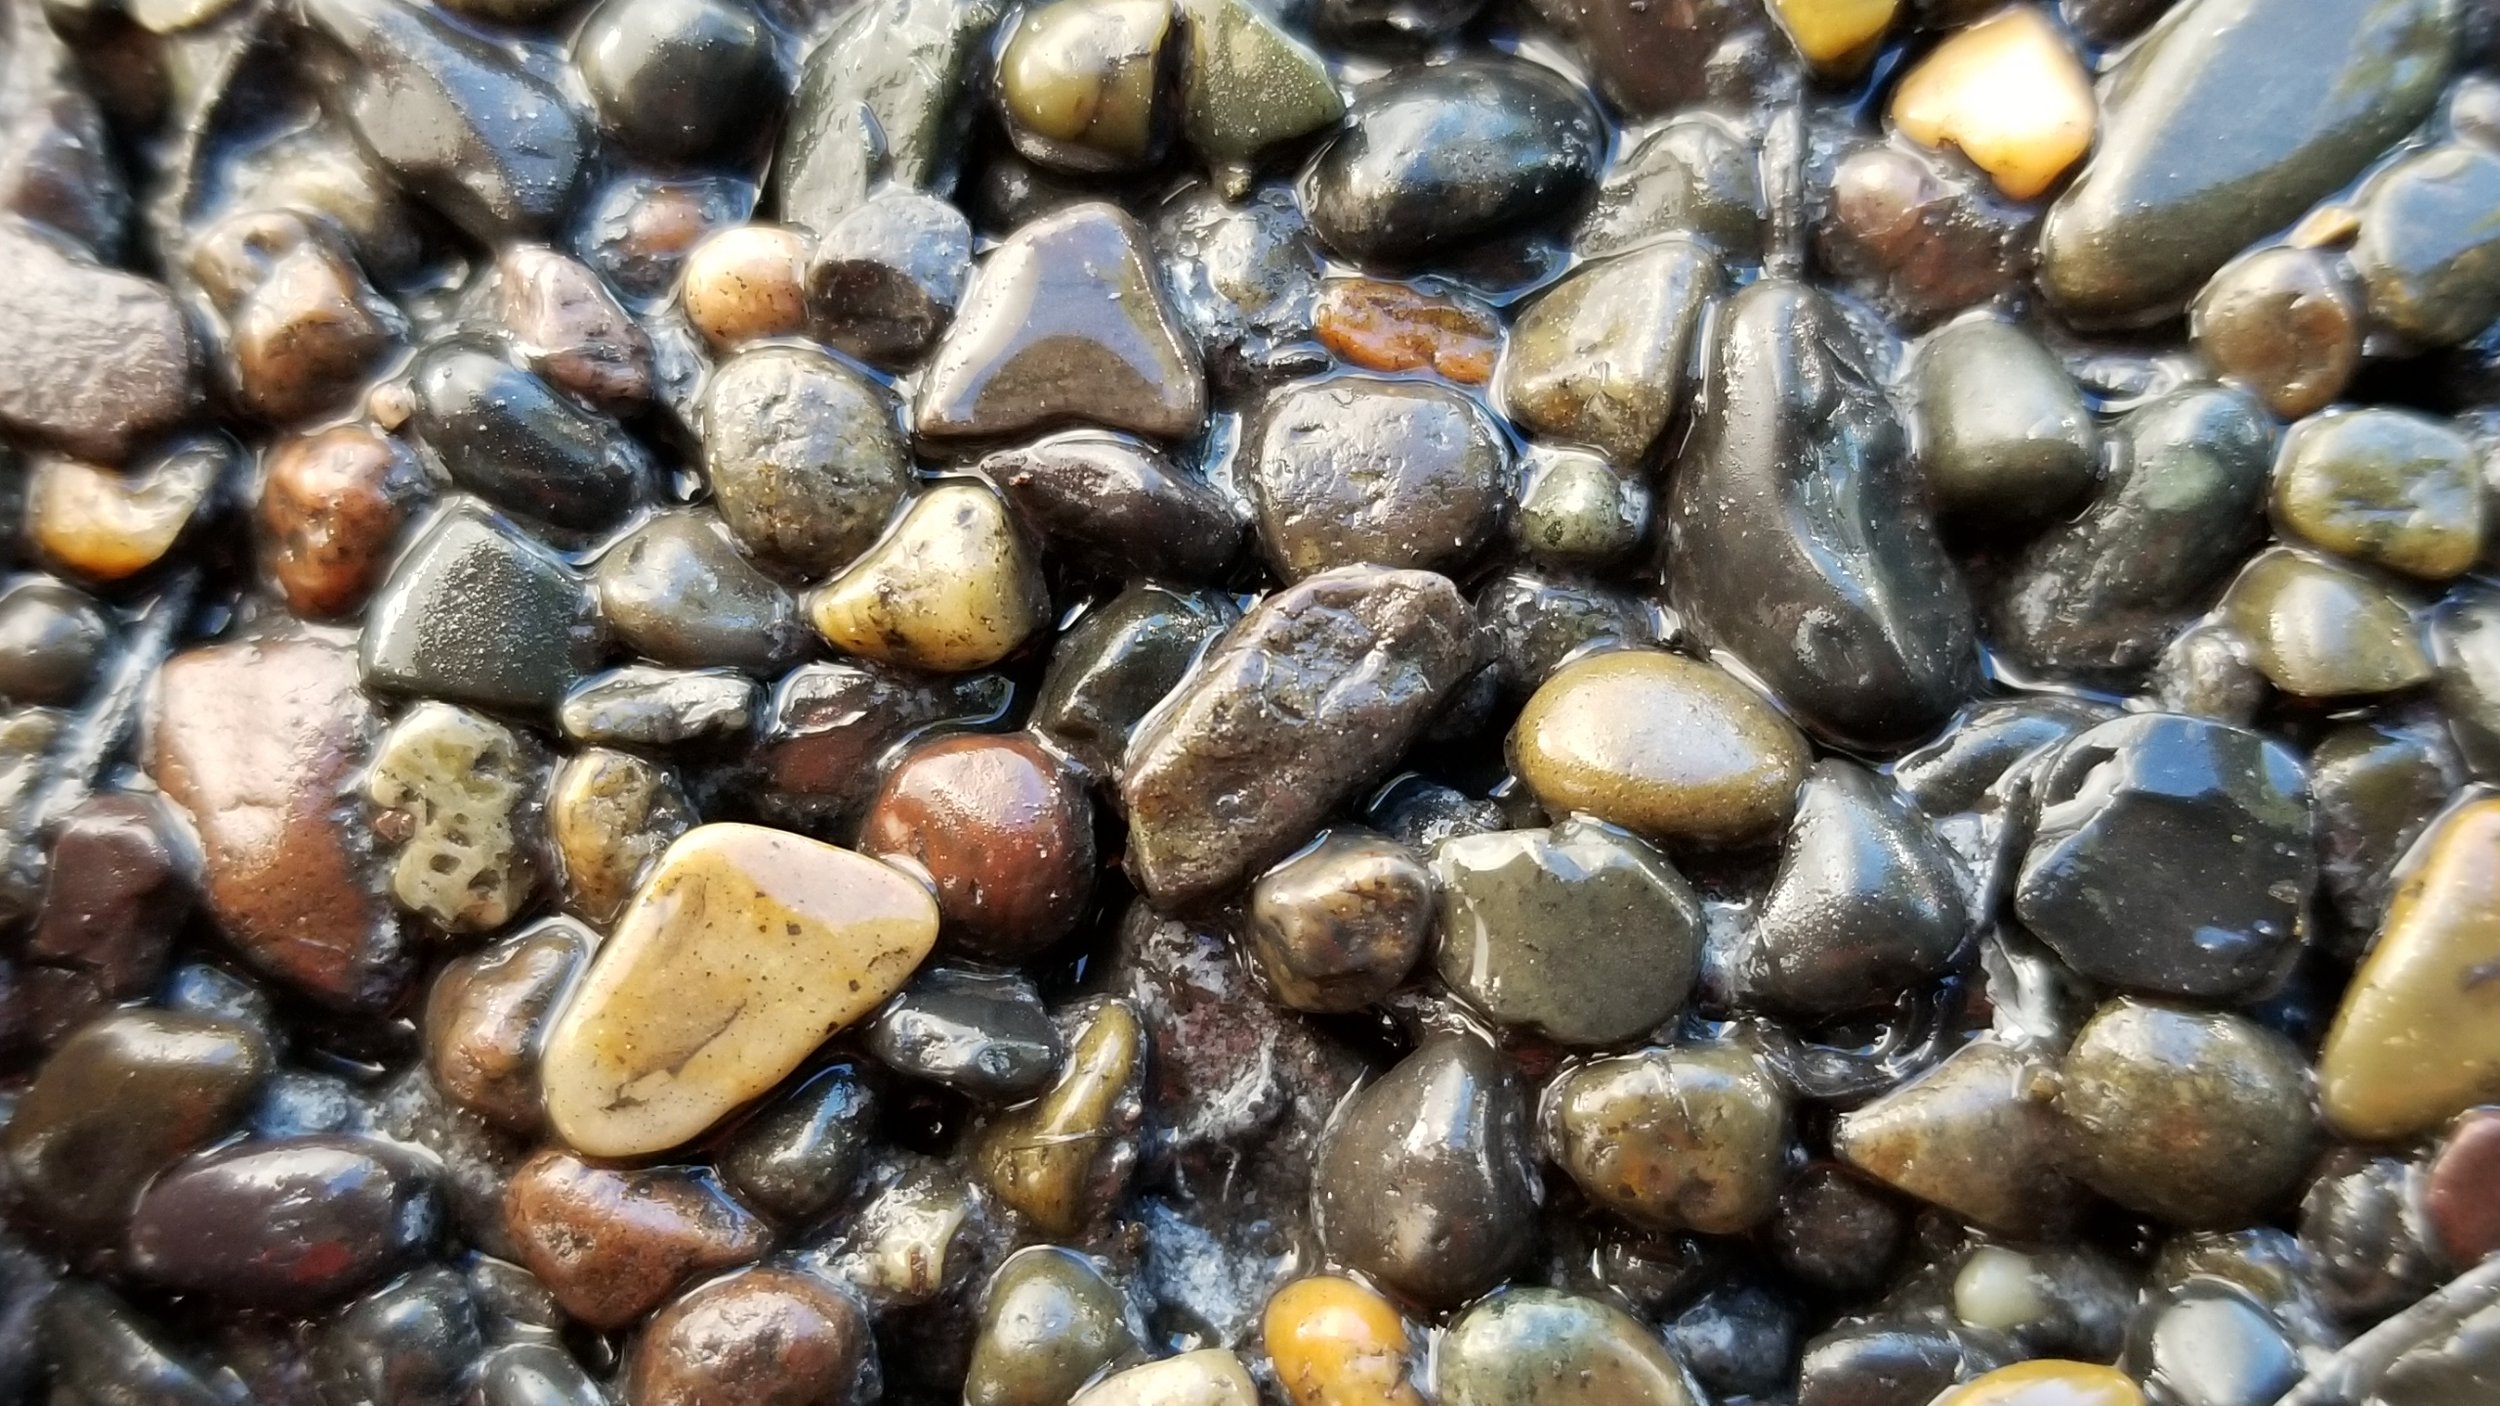
The final layer is three inches of “LaPaz” ¼” decorative stone (imported from Mexico) that was placed over the tubes. This layer was installed and finished, then sprayed with TopCast 03 retarder before the curing plastic was applied.
The next day we pressure washed the surface to expose the colorful aggregate. Removing enough cement paste to fully expose the surface of the aggregate, while also leaving enough to securely bond the aggregate together, was like waking a tightrope but after a few attempts we were able to successfully achieve the ideal balance.
Due to the short working season in the high Sierras and magnitude of the project, there were typically over a hundred workers on site every day, and construction logistics were a nightmare. The severely constrained working space created many challenges that required unique solutions. For example, with the limited access and the in-place radiant heat tubes, delivering the top layer Lapaz mix to the pour area would be particularly difficult. The solution we decided on required us to build a raised platform above the tubes that served as a path of travel for concrete buggies. We started pouring at the far end of a run, then worked our way backward, as we poured and finished each section of that run we would then remove the platform and expose the next section. It was a slow process that required extra working time, so we batched small loads and used a generous dosage of hydration stabilizer to carefully control the set time of the mix.
Next spring we will head back up the mountain to do the final detailing, at which time we will take and post pictures of the fully finished install. In the meantime, here is a teaser photo to hold you over…


